WHAT IS CROCHET?
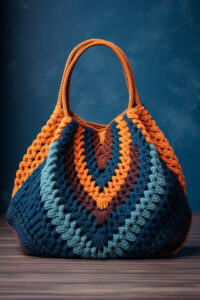
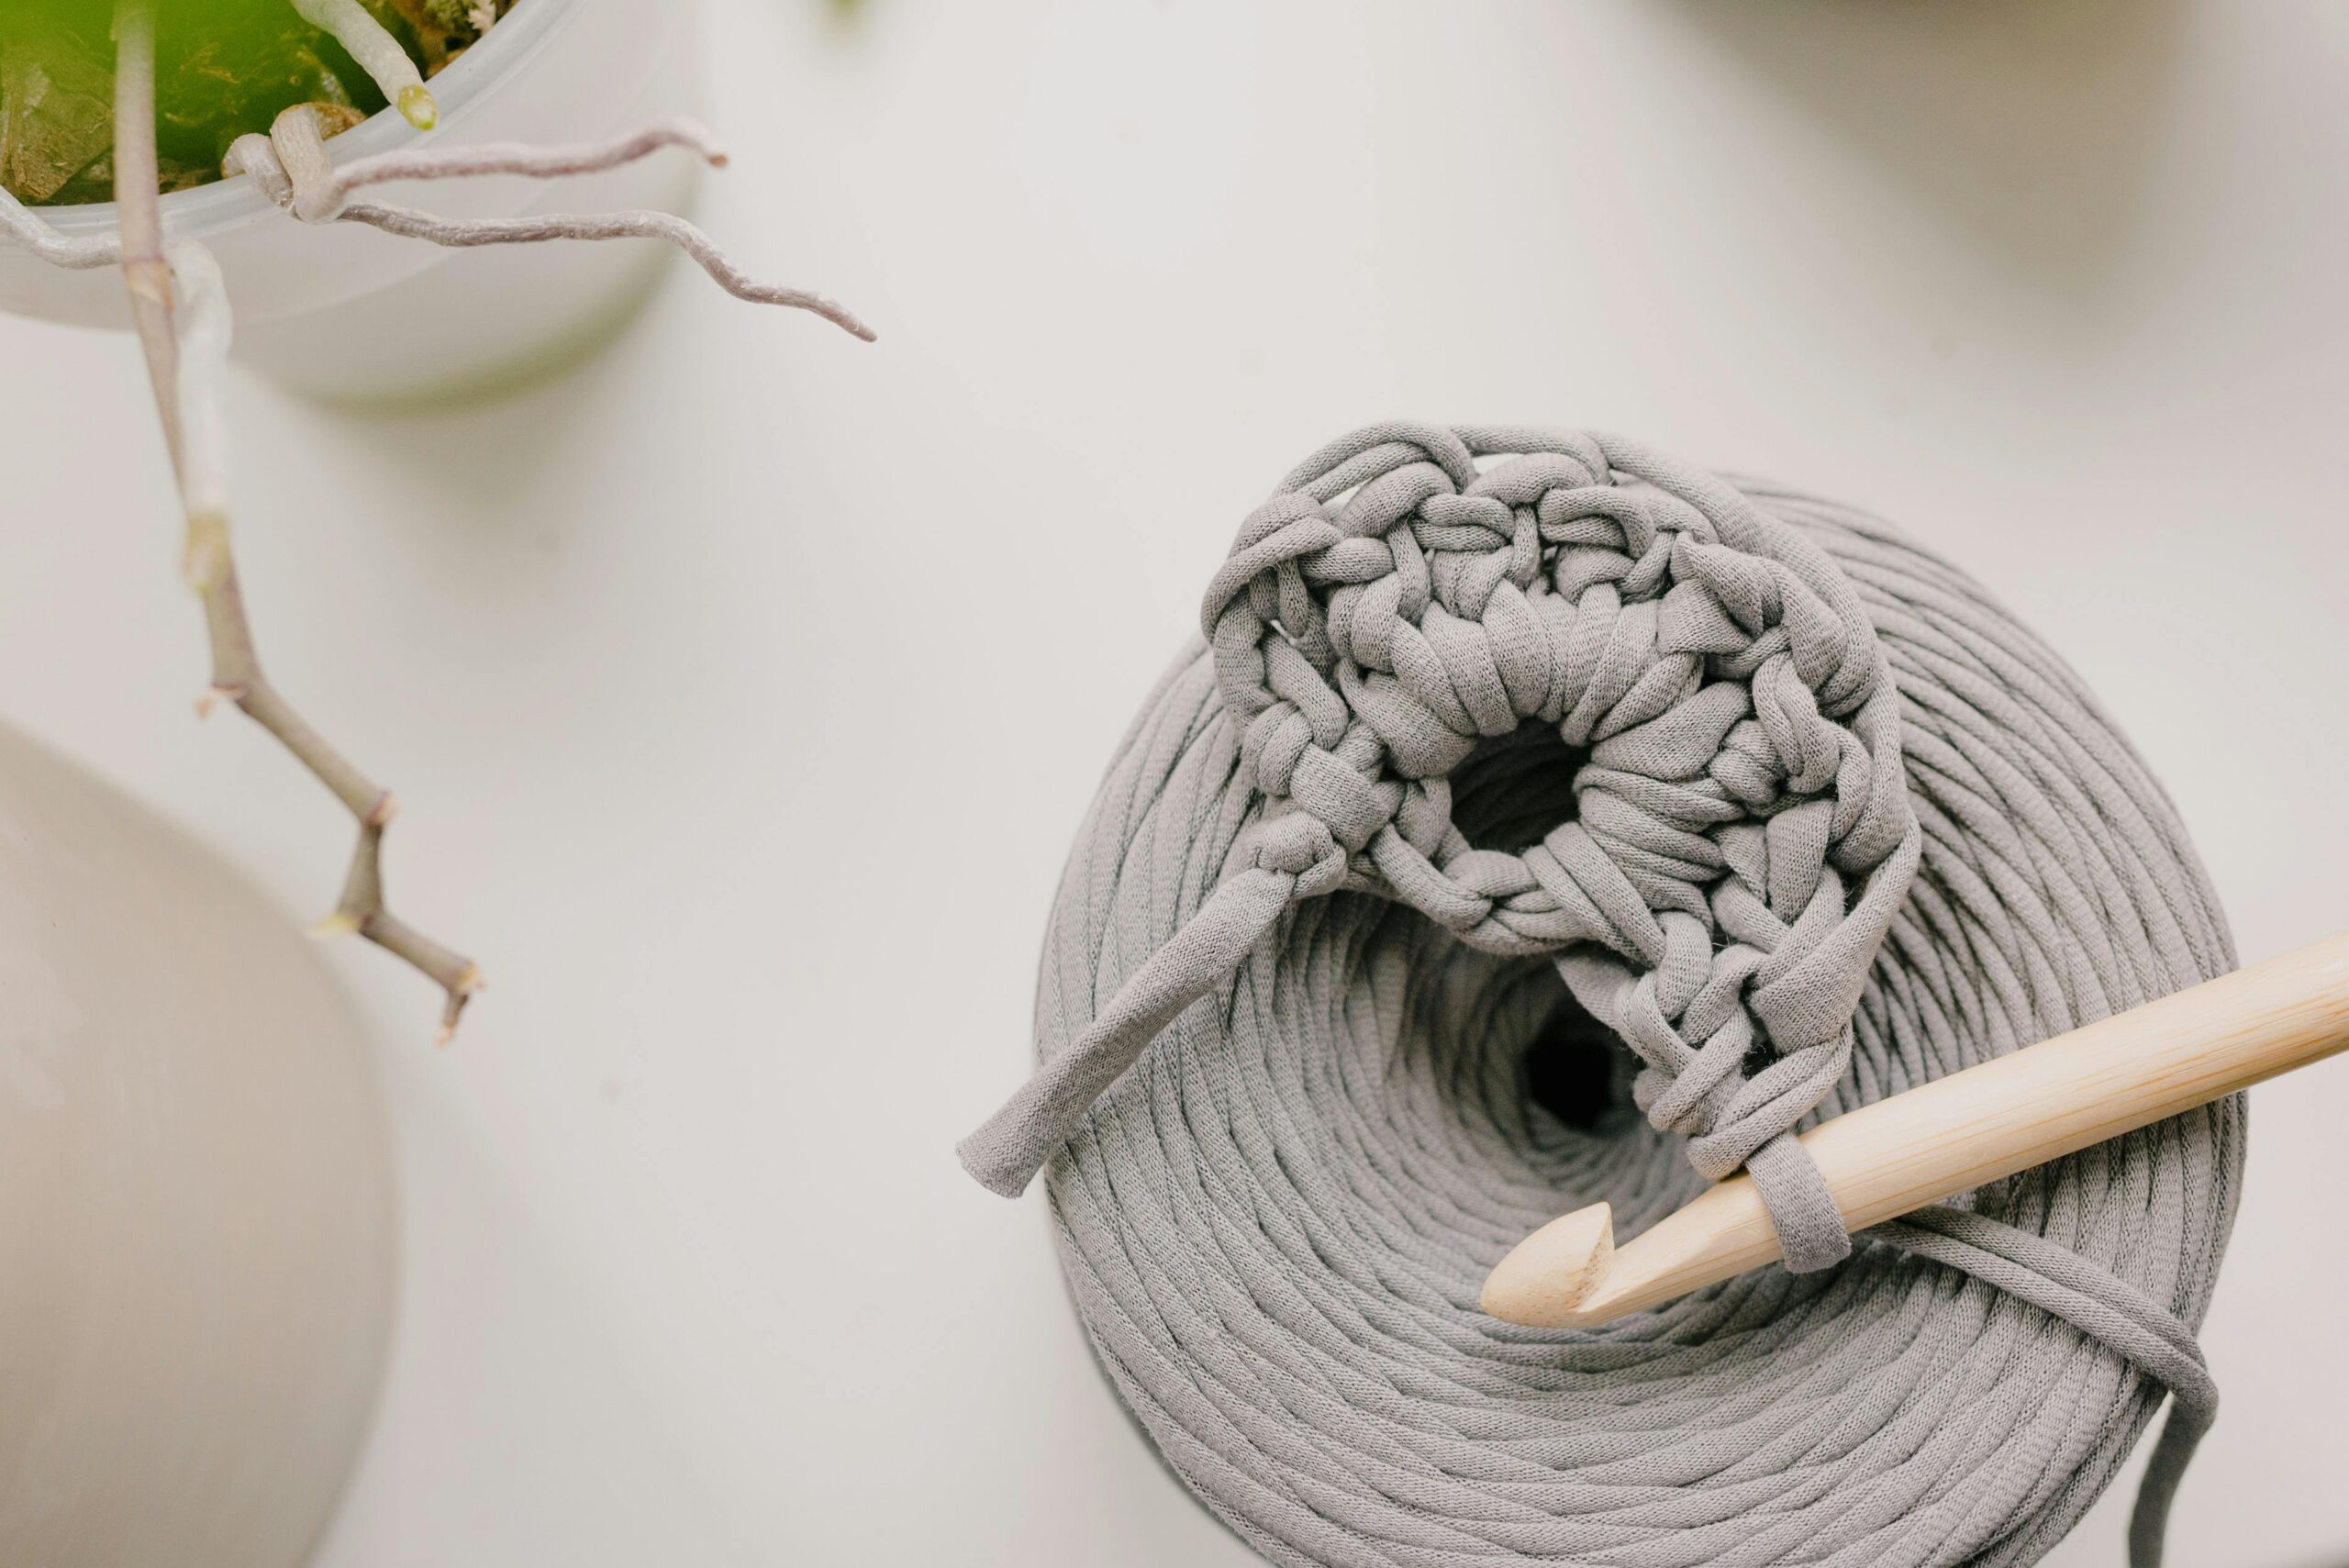
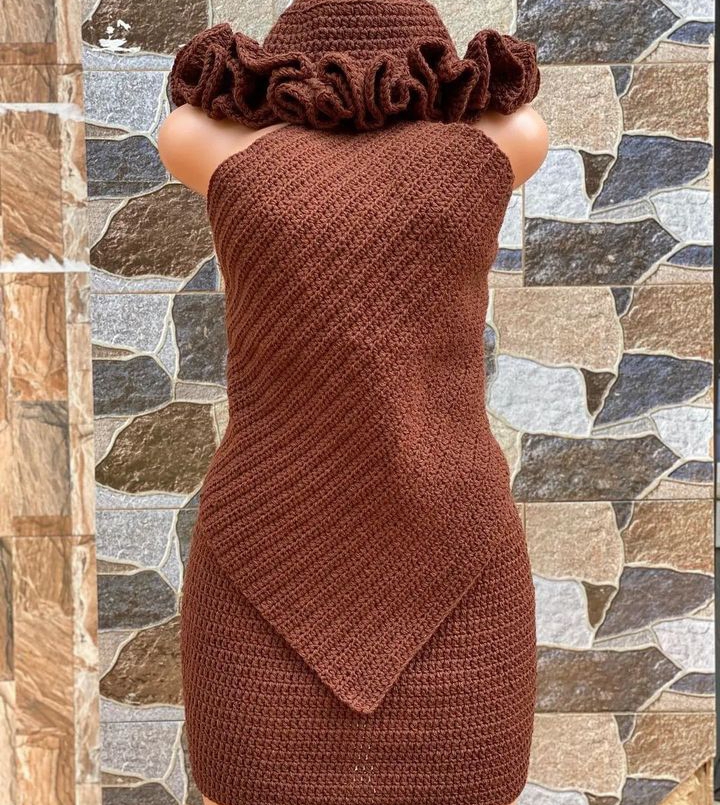
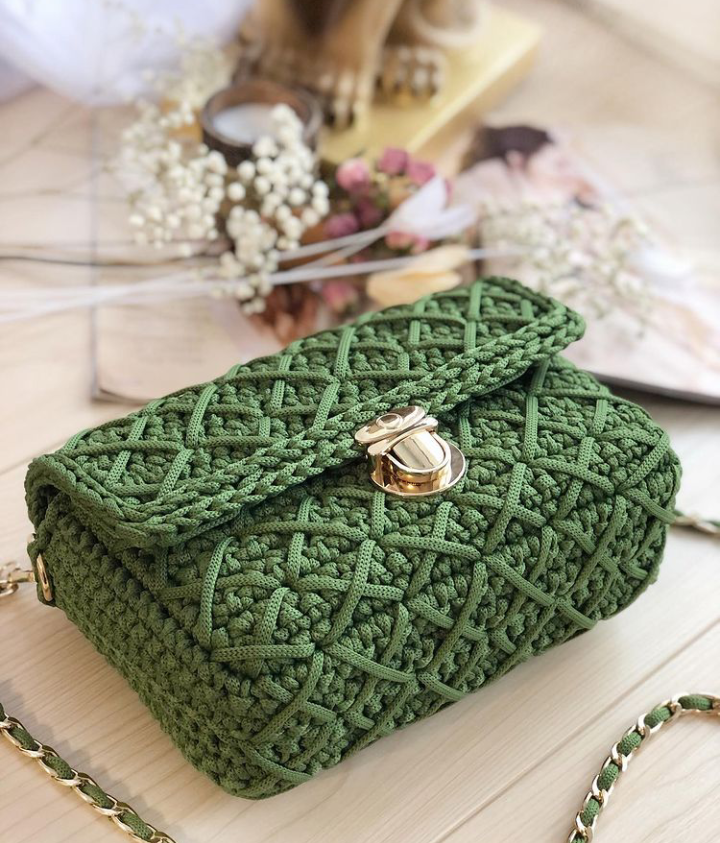
Crochet is an art or craft that involves the use of a hook, yarn, or strings. Crocheting is the interlocking of loops of yarn to create items like socks, blankets, dresses, tops, and more. It is quite similar to knitting; however, knitting uses two pins, while crochet uses one hook
What Do I Need To Begin Crocheting?
You do not need much, you will need
the following basics:
- Crochet Hooks
- Yarn
- Scissors
- Stitch markers
- Measuring tape
Crochet Hooks
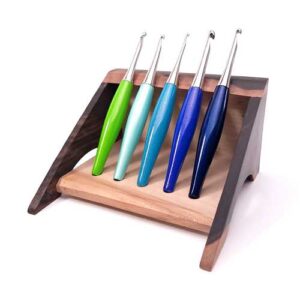
Crochet hooks are made from a variety of materials, such as metals, plastics, wood, resin, or a combination of materials. The hooks come in a variety of sizes, ranging from 0.1mm to 24 mm, which is the largest I have used. The size of hook you would use depends on the type of yarn and the desired gauge. If you are unsure about what crochet hook size to choose, check the yarn label, it should display the recommended hook size for the particular yarn you want to use for the project. If you are a beginner to crocheting, I recommend getting a basic kit on Jumia or Amazon or from your local craft stores.
How To Choose Your Yarn
Yarn comes in a different weight, colors and fibers Choosing the right yarn will ensure that your project looks and feels the way you want it to. Yarn can be made from cotton, wool, acrylic, or a blend of other synthetic fibers. I recommend starting with a medium weight yarn for beginners; it will make your stitches visible and make it easier to correct any mistakes while crocheting.
How to Hold Your Crochet Hook
When holding a crochet hook, there are 2 widely used methods. You can hold the hook however feels most comfortable to you!
Method 1: The Pencil Grip
In the pencil method, place your thumb on the flat part of the hook, near the thumb rest or grip area. Rest the hook against the side of your index finger, with the pointed end facing down. Curl your remaining fingers gently around the hook, just like you would when holding a pencil.

Method 2: The Knife Grip
In the knife method, place your right hand over the hook and grasp it between your thumb and index finger to begin. The left hand is used to control the yarn and to hold the stitches as they are created.
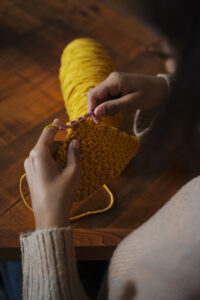
Remember to find a grip that feels comfortable for you. Ultimately, the goal is to find a grip that allows you to move your hook smoothly and maintain control while working on your crochet project. Practice and experimentation will help you determine the most comfortable and efficient method for you.
How to Hold Yarn When Crocheting
It’s important to learn how to hold your yarn because of tension. Tension is important in crochet because it affects the overall appearance and size of your project. When you crochet with consistent tension, it ensures that your stitches are uniform in size and appearance. This is especially important when working on projects that require precise measurements.
Hold your non-dominant hand out in front of you, face down. Bring the initial strand of yarn under your ring finger, or middle finger. Then wrap it over your pointer finger. Control the tension by squeezing your fingers together as you work a stitch and pull more yarn into your project. When you squeeze, you’ll add more tension and your stitches will be smaller. Less squeezing results in a lower tension and more loose stitching.
All About Stitches
When crocheting, you will have to learn the basic stitches
Slip knot
Slip stitch
Magic Ring – MR
Chain stitch – Ch
Single crochet- Sc
Half double crochet- Hdc
Double crochet – Dc
How to Make a Slip Knot
To begin any project, you’ll need to make the first loop on your hook which is a slip knot.
To make a slipknot:
Make a loop with your yarn, be sure to leave a tail long enough to weave in later! Then bring the tail of the yarn over the loop and insert it into the loop from underneath. Pull the tail to tighten the knot.
How to Single Crochet (SC)
The single crochet is one of the basic crochet stitches, and it’s often one of the first stitches that beginners learn. Once you’ve created a foundation chain, you can start working single crochet stitches into it to build your fabric. Here’s a step-by-step guide on how to make a single crochet:
Insert your hook: Take your crochet hook and insert it into the desired stitch of the foundation chain. The first stitch is usually the second chain from the hook.
Yarn over: Once your hook is inserted, wrap the yarn over the hook from back to front, moving in a counter-clockwise direction.
Pull through: Draw the wrapped yarn through the stitch. Now, you should have two loops on your hook.
Yarn over and pull through both loops: Wrap the yarn over the hook again and pull it through both loops on the hook. This completes one single crochet stitch.
Continue across the row
Turning chain: When you reach the end of the row, you’ll need to turn your work to start the next row. To do this, chain one (or as many as required by the pattern) and turn your work.
Single crochet in each stitch: Insert your hook into the first stitch of the new row, yarn over, pull through the stitch, yarn over, and pull through both loops on the hook. Continue making single crochet stitches across the row.
Practicing the single crochet stitch will help you become more comfortable with crocheting, and you’ll be ready to explore other stitches and more complex projects in no time!
I will teach you the other stitches we have in my next post.
Happy crocheting.
